
My best friend since the 4th grade recently got engaged! I am so excited for her and her soon to be husband. They are a great couple and I couldn't be more happy for them. Congrats Nikki & CJ!

We went out to dinner this past weekend to celebrate their recent engagement so I thought I would try out the new Cake Pop maker. First, you will need to prepare some cake batter and pre-heat the Cake Pop maker for a few minutes.

Once the Cake Pop maker is heated, pour approximately 1 Tbsp. of batter into each reservoir.

Once all reservoirs are filled, close the lid and let the cake balls bake for approximately 5 minutes. As you can see, I way over filled the reservoirs with batter!


After a few tries I got a little better at judging how much cake batter to fill each reservoir with.

For the most part, the cake balls turned out really great. There were a couple here and there that were slightly deformed, but most of them had a nice circular shape. I did find that the Cake Pop maker doesn't bake the cake balls evenly. The reservoirs in the back seem to cook faster than those in the front. However, they were all thoroughly baked and none were burnt.

Allow the cake balls to cool and then place them in the freezer for a few minutes. While the cake balls are in the freezer melt chocolate in a microwave safe cup. Dip the end of lollipop sticks in the melted chocolate and then insert into the cake balls. Place the cake balls with the sticks into the freezer and allow the chocolate to harden. This step will help to ensure that the cake balls do not fall off the sticks when you dip them into the chocolate.

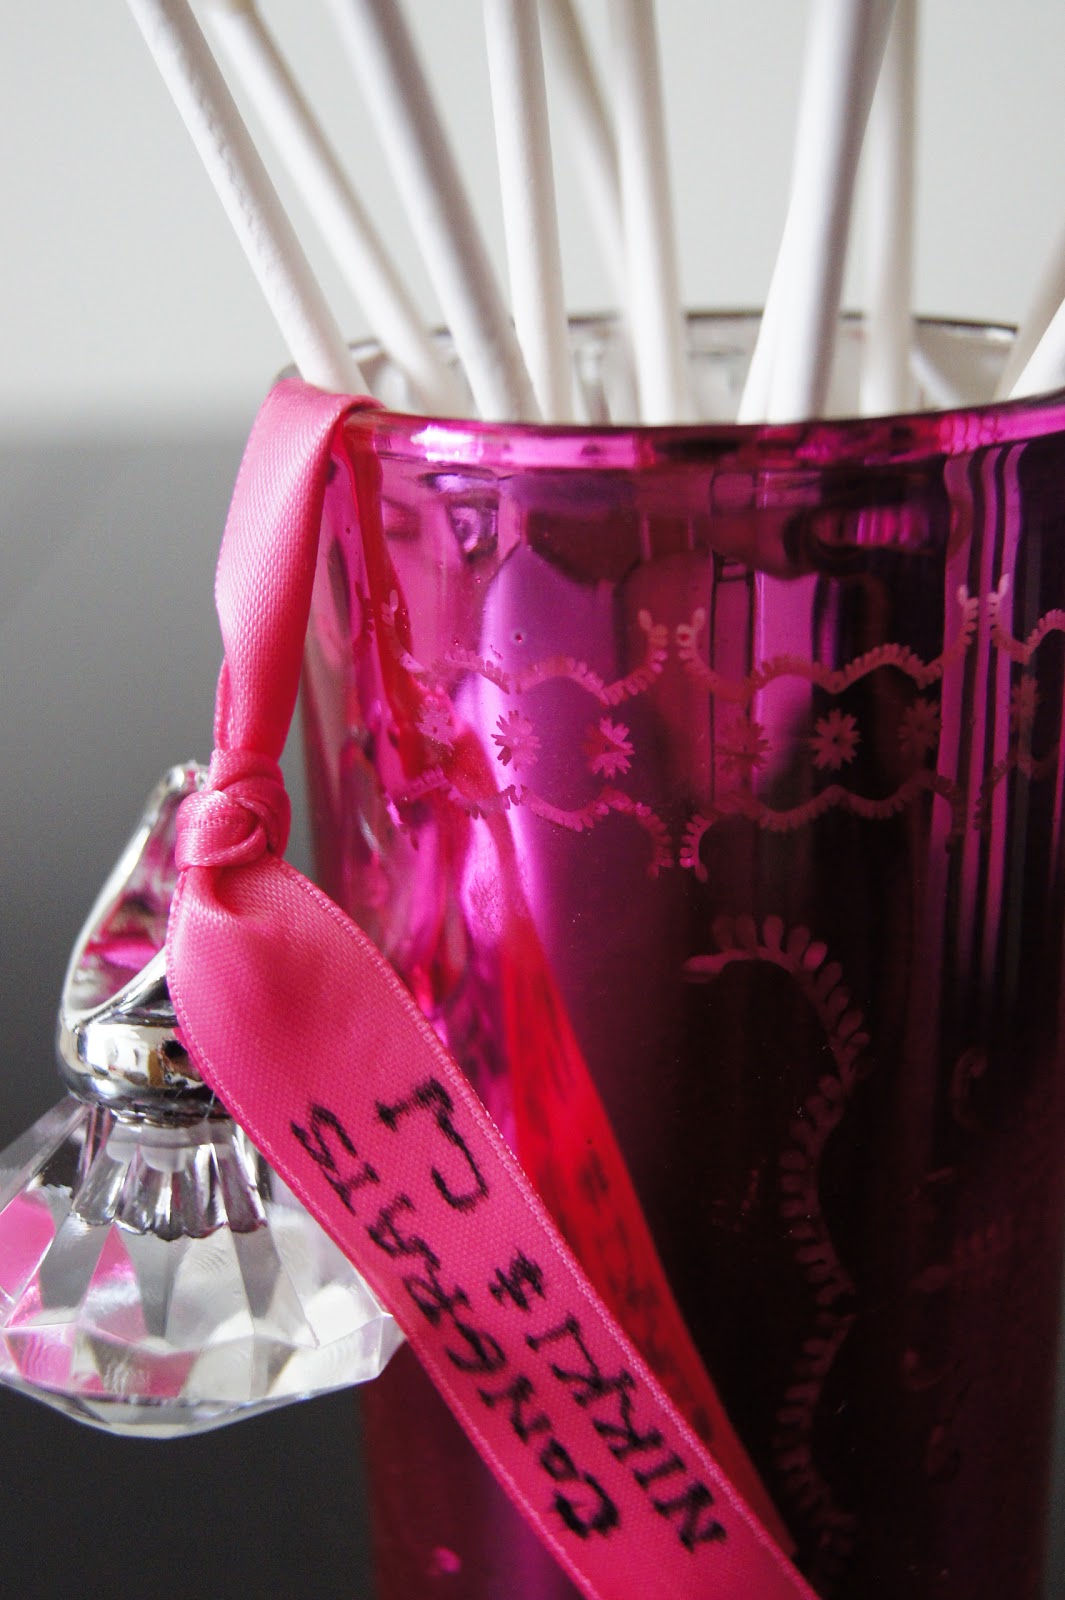
Remove cake balls with sticks from the freezer, and dip the entire cake ball into the melted chocolate. Decorate cake balls will sprinkles or candies as desired. Allow chocolate to harden. If you do not have a Cake Pop stand or piece of Styrofoam to stick the Cake Pops in, fill a cup with rice. This will allow you to stick the cake balls into the cup without worrying about them tipping over.

Once I finished decorating all of my Cake Pops I placed them in this fun cup and gave them to my friend as an engagement gift! Congrats again to Nikki & CJ! Can't wait for the wedding.
For great Cake Pop ideas visit Bakerella's website. This is by far one of my favorite baking websites.
No comments:
Post a Comment