Wednesday, September 7, 2011

Back to School - Brownie Bites

Our nanny recently went back to school, so we made her these de-lish Mini Treasure Brownies which you can find the recipe for on the Tasty Kitchen website.  How we miss her already!  We are already looking forward to next summer when she will be back. 

 Start by mixing the sugar, vanilla, and oil in a bowl. 

Mix in the beaten eggs.

In another bowl, mix together the flour, cocoa, baking powder, and salt.  Once mixed, stir into the liquid ingredients.  Pour mixture into a lined, mini muffin tin and bake for approximately 10 minutes at 350.

 While the brownie bites are baking, unwrap the Hershey Kisses.

Remove brownie bites from the oven.  Let cool for a few minutes and then press one Hershey Kiss into the center of each brownie bite. 

 For a fun way to package your brownie bites (or other miniature treats), place in a clean egg carton. 

Add your own personal touch, by decorating the egg carton.  Or use one of these cute egg cartons that can be purchased from Bake It Pretty.  I plan on ordering some of these for future projects!  Hope everyone has a good first week back at school!

Thursday, August 11, 2011

S'mores Dessert Guest Feature

Did you know that yesterday was National S'mores Day 2011?  In honor of this campfire treat I am featuring a S'mores Dessert that my mom made.  This isn't your traditional campfire S'mores, but an ice cream S'mores Dessert.   A refreshing treat for this hot, humid summer that we're having in Minnesota.    

To make this de-lish S'mores Dessert, start by layering graham crackers side by side in a 9x9" pan (4-6 whole crackers for the bottom and top).  Next spread hot fudge topping over crackers (about 1 cup).  Sprinkle with mini marshmallows.  Spread 2 cups of softened ice cream on top. My mom used chocolate chip ice cream.  Top with graham crackers.

Freeze dessert and enjoy!
Have you seen these marshmallows in the store yet? 

Take a closer look.  They are square shaped marshmallows, perfect for S'mores!  I haven't had a chance to try roasting these marshmallows over a campfire, but they would be perfect to use in the S'mores ice cream dessert.  I hope you have a chance to enjoy a S'more over the campfire this summer.  Happy Camping!   

Thursday, July 21, 2011

Target Cake Guest Feature

How adorable is this cake?  My friend Kristi decorated this cake for a friend of hers who works for Target.  

Bullseye, the Target mascot, is so cute.  The Bullseye Kristi made looks exactly like the real Bullseye.  Great job Kristi!  You are so talented!

Saturday, July 16, 2011

Twin Cities Bakery Tour - Yum! Kitchen and Bakery

This week's bakery feature is Yum! Kitchen and BakeryYum! is located in St. Louis Park at 4000 Minnetonka Boulevard. 
I've been to Yum! several times and have tried out many of the desserts.  Yum! also has a kitchen which offers soups, salads, sandwiches, entrees, and more.  I haven't tried the food, but if it tastes anything like the desserts its to die for.  The cupcakes and desserts are packaged in these bright blue boxes with a Yum! logo sticker.  I love the red with blue lettering.  See below for some of Yum's de-lish bakery treats.

The signature Yum! Cupcake...

...with a creamy filling.

Chocolate & Vanilla Cupcakes

Yum! always has a specialty cupcake featured.  One I've tried is the Peanut Butter Cupcake.

Another is the Muddy Mousse Cupcake.  The chocolate mousse was amazing.

Per my friend's recommendation I also tried a slice of Patti Cake.  This cake was amazing!  The chocolate cake was very moist and the frosting was perfect, not too sugary.

I also got a Nut Goodly Bar for my husband.  This was very rich and creamy.

If you are ever in the area, you definitely need to check out Yum! bakery.  It won't disappoint.

Tuesday, July 5, 2011

4th of July Trifle

Happy 4th of July!  Doesn't this look de-lish?  I made this trifle for the 4th of July pool party that we went to.  It's super easy to make and tastes wonderful.  I know this post is too late to make this dessert for this year, but I just had to share. 

Start by baking a vanilla cake.  Using a fork, poke holes randomly into the cake.

Next prepare a package of blue Jello and a package of red Jello.  Mix each pacakage of Jello with 1 cup of boiling water and stir until the Jello dissolves.  DO NOT add the cold water called for by the instructions on the Jello box. 

Once the Jello is prepared, pour over the cake.  Pour the blue Jello on one half of the cake and the red Jello on the other half.  Use approximately 1/2 cup of the Jello mixture on each half of the cake.  Cover and let set in the refridgerator.   
Once the Jello has set, remove the cake from the fridge.  This is what the cake will look like when you slice into it. 
Cut the cake into small cubes, keeping the blue and red pieces separated.

Now its time to make the Trifle.  You will need your cake (cut into small cubes), a large tub of Cool Whip, blueberries, raspberries, and a Trifle bowl (or any other type of glass bowl).  Start by layering the blue pieces of cake on the bottom of the bowl.  Top with a layer of Cool Whip. 

Next, add a layer of blueberries.

 Layer the red pieces of cake on top of the blueberries.

 To complete the Trifle, add another layer of Cool Whip and top with raspberries.  And there you have it, a 4th of July Trifle!  This dessert is always a hit and very refreshing on a hot summer day.


Happy 4th of July!

Check out my trifle, posted on Sweet As Sugar Cookies on the Sweets for a Saturday post.


Wednesday, June 29, 2011

Congrats Nikki & CJ!

My best friend since the 4th grade recently got engaged!  I am so excited for her and her soon to be husband.  They are a great couple and I couldn't be more happy for them.  Congrats Nikki & CJ!

 
We went out to dinner this past weekend to celebrate their recent engagement so I thought I would try out the new Cake Pop maker.  First, you will need to prepare some cake batter and pre-heat the Cake Pop maker for a few minutes. 
Once the Cake Pop maker is heated, pour approximately 1 Tbsp. of batter into each reservoir.

 
Once all reservoirs are filled, close the lid and let the cake balls bake for approximately 5 minutes.  As you can see, I way over filled the reservoirs with batter!

When the cake balls are done baking, remove them from the Cake Pop maker.  When I lifted the lid, the entire surface was covered with batter.  I used a toothpick to trace around each cake ball and remove it from the Cake Pop maker. 

After a few tries I got a little better at judging how much cake batter to fill each reservoir with. 
For the most part, the cake balls turned out really great.  There were a couple here and there that were slightly deformed, but most of them had a nice circular shape.  I did find that the Cake Pop maker doesn't bake the cake balls evenly.  The reservoirs in the back seem to cook faster than those in the front.  However, they were all thoroughly baked and none were burnt. 
Allow the cake balls to cool and then place them in the freezer for a few minutes.  While the cake balls are in the freezer melt chocolate in a microwave safe cup.  Dip the end of lollipop sticks in the melted chocolate and then insert into the cake balls.  Place the cake balls with the sticks into the freezer and allow the chocolate to harden.  This step will help to ensure that the cake balls do not fall off the sticks when you dip them into the chocolate.

Remove cake balls with sticks from the freezer, and dip the entire cake ball into the melted chocolate.  Decorate cake balls will sprinkles or candies as desired.  Allow chocolate to harden.  If you do not have a Cake Pop stand or piece of Styrofoam to stick the Cake Pops in, fill a cup with rice.  This will allow you to stick the cake balls into the cup without worrying about them tipping over.
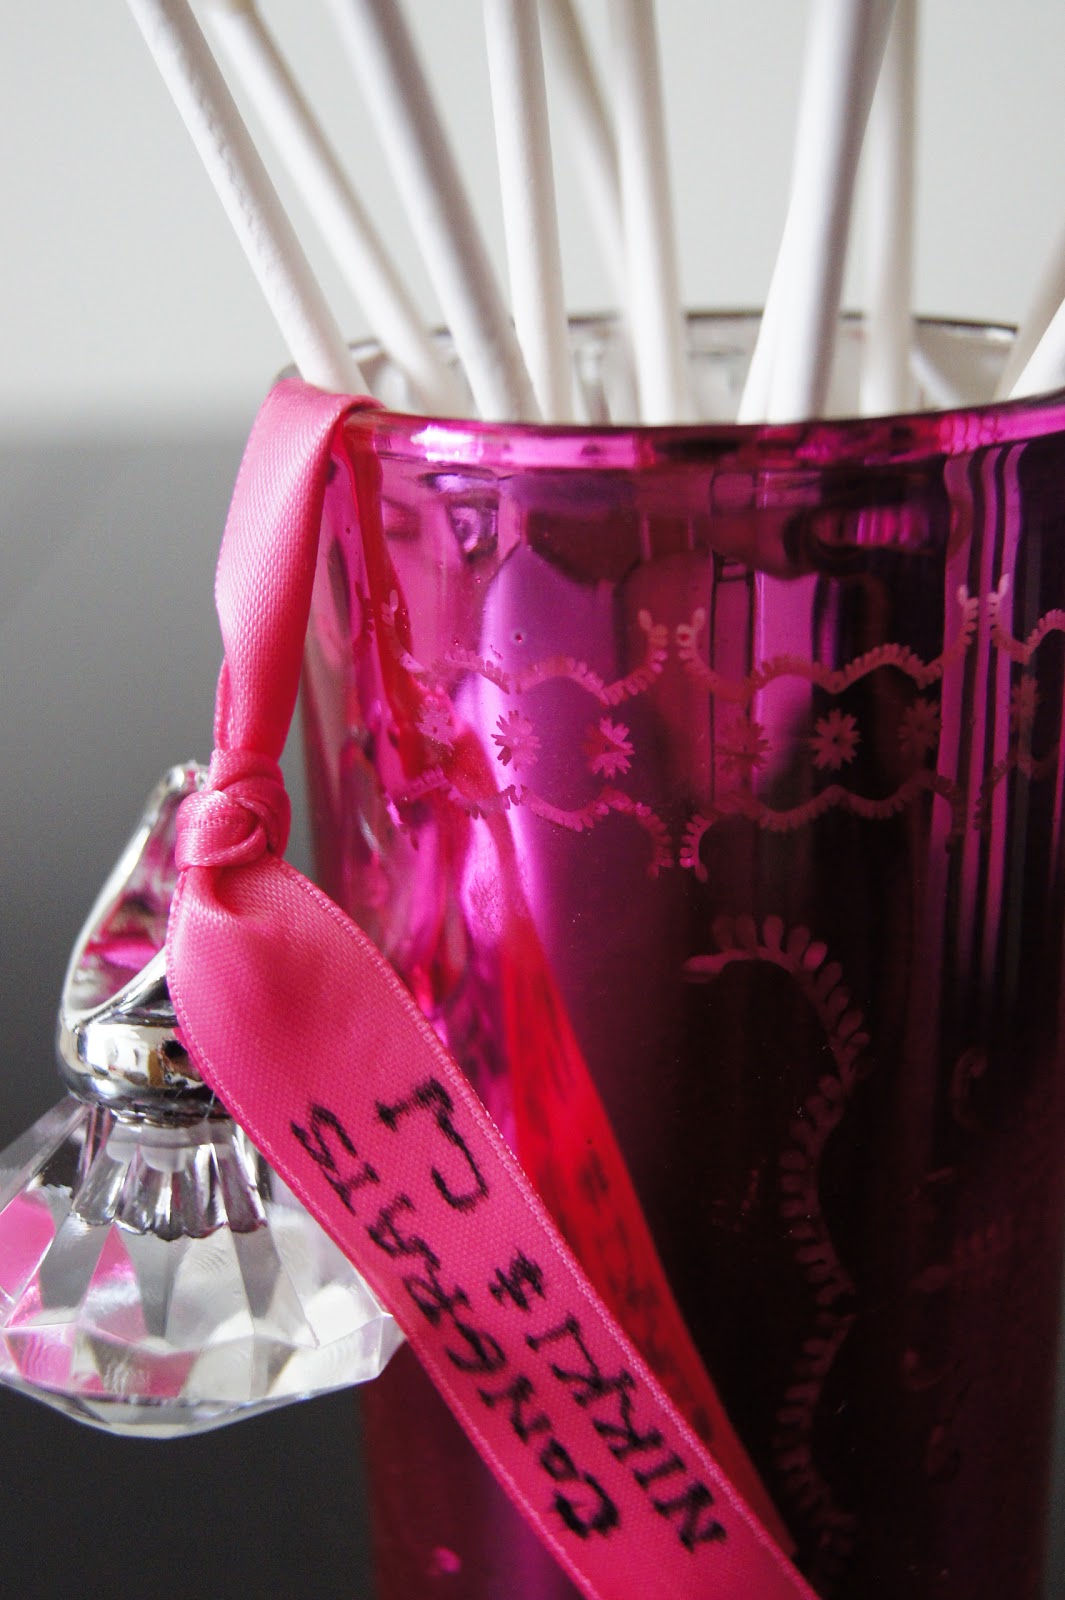
Once I finished decorating all of my Cake Pops I placed them in this fun cup and gave them to my friend as an engagement gift!  Congrats again to Nikki & CJ!  Can't wait for the wedding. 

For great Cake Pop ideas visit Bakerella's website.  This is by far one of my favorite baking websites. 

Wednesday, June 22, 2011

Cake Pop Maker

If you are into baking you are probably aware of the Cake Pop craze.  My mom came across this Babycakes Cake Pop Maker at Kohl's last week.  They were sold out already so we purchased the display model.  I love making cake pops and am really excited to try this out!  I hope it works well as it would save a lot of time.  Stay tuned for my review on the cake pop maker.